10 DIY tricks to improve your home recording studio
There’s a lot you can do with home audio recording to make it comparable to an expensive recording studio. From the perfectly placed couch to building your own mic stand, you can easily upgrade your home studio with a lot less than you think.
Acoustic treatment
Before diving into the DIY hacks below, it’s worth learning a bit more about the field of acoustic treatment. Here you will find information on absorption, scattering, standing waves and mirror points. By understanding these concepts a bit, you’ll be able to pinpoint issues in your recording space and use the following DIY tips to help fix the problem. If you want to learn more about acoustic treatment ideas, head over to Soundfly.
1. Sofa

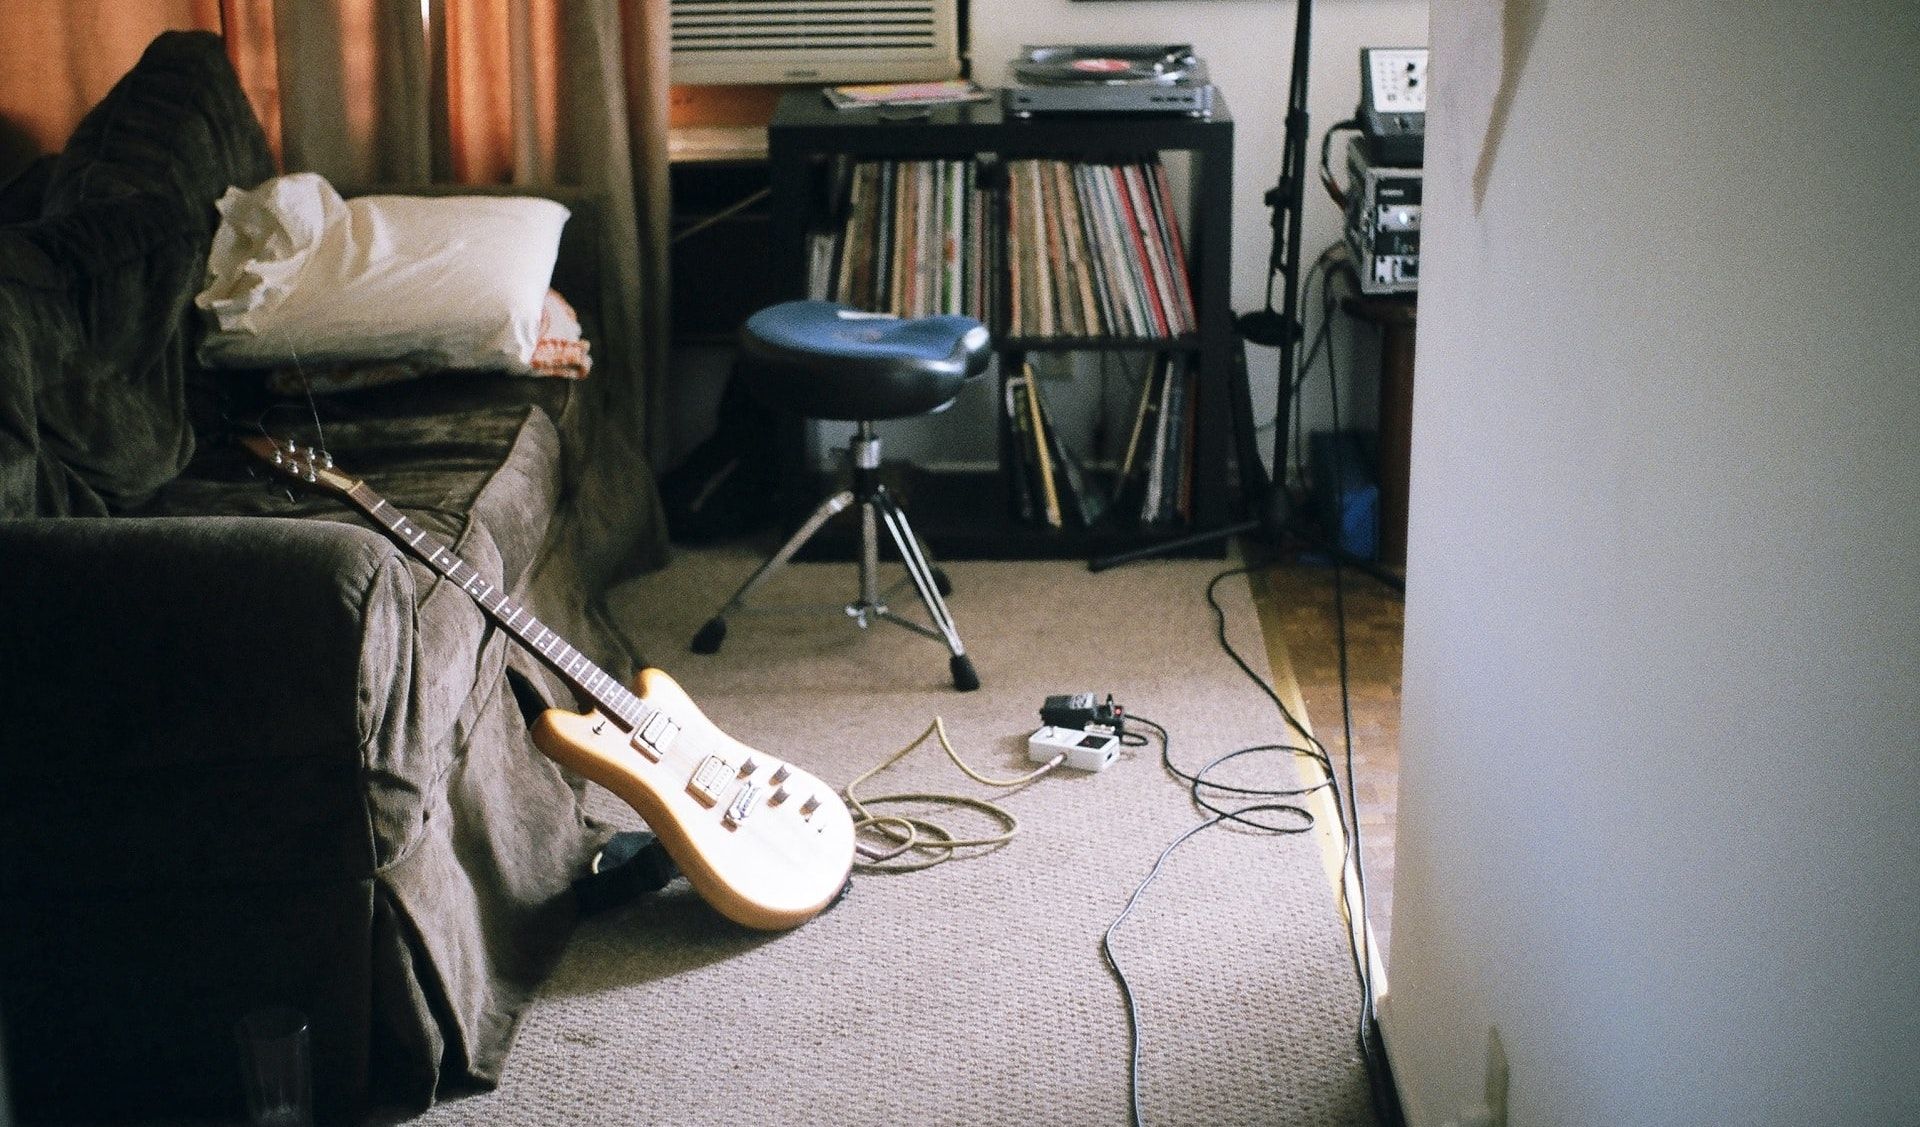
If you’ve ever visited a recording studio, you might have noticed a couch in the engineer’s room. Besides making the control room cooler to hang out while everyone listens to the mix, it serves a useful purpose. It works to absorb some unwanted audio reflections in the room and where it does this best is at the back of the mixing room, behind where you sit at your mixer.
2. Libraries
A shelf placed along the far wall behind the listening position will also help diffuse sound reflections. Try to organize your books, CDs and other pieces of equipment so that there are gaps several inches deep. This works especially on high frequency sounds, which is useful if you have a particularly ringy sounding room.
While making physical changes to your recording space with furniture you already own is a great way to save costs, you can do the same with digital assets too. Here are some genuine websites to download free VST plugins and instruments.
3. Electronic noise
Electrical cables can produce an audible hum which, although barely noticeable during a normal day, can be an annoying problem in your audio recordings. Before recording instruments, first record the sound of your empty room to see if there is anything in particular that is being picked up by the microphones. If not needed, unplug all electronics such as TVs in standby mode and unused charging cables. Needless to say, unplugging air conditioners and heat pumps is a good idea, and cooling fans on a computer are also worth watching.
4. Build bass traps

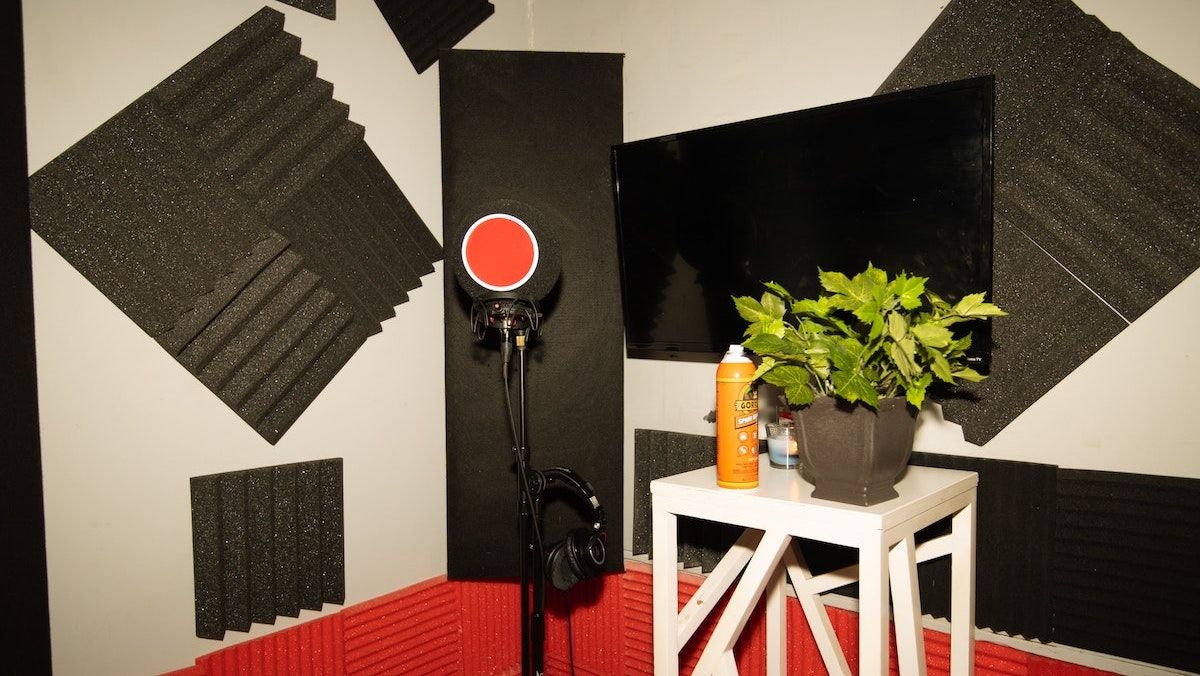
Dealing with low frequencies in your home studio can be one of the toughest problems, and it’s generally accepted that you can’t go wrong with having too many bass traps. Or in other words, thick acoustic panels that prevent low frequencies from building up in the room. If you think you can tackle low frequencies by gluing foam to your walls, you’ll be disappointed: if you go that route, you’ll need really thick shims of foam to do a good job.
Fortunately, a combination of air and foam works just as well, so in other words, taking a 4 inch piece of foam and placing it 4 inches from the wall is just as effective as an 8 inch piece of foam. inches thick. Building bass traps isn’t particularly difficult, but commercial outfitters are expensive due to the time it takes to custom build and install them in your home.
To make them yourself, you have to build a wooden crate and line it with a dense foam material or rock wool, making sure to leave an air gap in the back. sound on sound The magazine has covered DIY bass traps/acoustic panels many times over the years, making it a great place to start.
5. Voice from the Closet
A quick solution to a noisy home recording environment is to jump into a cabinet or closet and record your voice there. Leave your coats hanging as this will help absorb echoes and reflections. If you are not convinced by this method, then listen to the amazing vocal material used in the sci-fi movie Dune (2021). Singer Loire Cotler captured the signature sound as she sat in a closet with her laptop balanced on a cardboard box.
Aim for a clean recording with no background noise, as you can always add artificial reverb in post-production. You don’t have a wardrobe? Then another DIY solution is to throw a duvet cover over a portable clothesline to create a recording nook that keeps out unwanted noise.
6. DIY speaker stands
Speaker stands don’t just look good: Placing your speakers on their own stand prevents sound waves from reflecting off your desk, which helps improve your overall listening experience. It also gives you the advantage of arranging the speakers for ideal sound; usually by creating an equilateral triangle with both speakers angled towards your head.
Avoiding expensive store-bought speaker stands, you can build your own from scrap lumber, concrete cinder blocks, or an old PA stand. Whichever method you decide to use, be sure to position the tweeter (i.e. the speaker cone that produces the high frequencies) in line with your ears.
7. Simple pop filter
Whether you’re recording vocals, a podcast, or a voiceover, using a microphone pop filter will ensure you get crisp takes. If you’re not familiar with the idea, pop filters do exactly what they say: they filter out harsh, loud “plosive” sounds that come from the letters p, t, k; b, d, g. Left alone, plosives can cause your recording to clip, rendering it useless in the final mix.
Save some money and make your own pop filter by following this Instructables tutorial, it’s easy and affordable, requiring only a pair of stockings, wire and an embroidery hoop. If this is your first time getting into home audio production, be sure to check out our list of the best free music production software.
8. Lamp to microphone stand
There’s no need to hold a microphone in your hand while recording if you’re looking to capture pro-quality sound at home. At the same time, it’s not always affordable to add a mic stand to your shopping list. The video above takes an inexpensive IKEA lamp and converts it into a desk-mounted boom mic that can easily be maneuvered into position. Maybe you already have an old lamp at home that is perfect for this DIY conversion.
9. Two ways to reduce sibilance
‘S’ sounds can be awkward to deal with when recording vocals, and some singers will naturally have a lot more sibilance than others – this is also found in regular voiceovers and podcasts. You can buy a plug-in or software to remedy the problem, or you can deal with it at source. It may sound like an old wives’ tale, but sound on sound suggests placing a pencil over the microphone and securing it with a rubber band. Second, you can also try covering the space between your two front teeth with dental wax.
10. Natural reverberation
Before amazing and complex reverb plug-ins could be purchased, studio engineers added reverb to their tracks by recording in a room with natural reverb. The audio plug-in presets labeled “Theater”, “Church”, and “Garage” used to be the actual location where they saved an instrument to capture different types of reverb.
Rock band Foo Fighters recorded the album Wasting Light entirely from a garage, and while their garage is probably a lot nicer than yours, the premise is the same. Use the different types of rooms you have at home and try recording in your hallway, bathroom or garage for a different sound.
Home creative studios
Ever since recording technology has existed, people have come up with creative DIY solutions to get the most out of their home studios. Oftentimes, making small DIY changes can have an outsized improvement on your sound quality, especially when it helps you go from amateurish to convincing. While you’re saving for the ultimate studio gear, try these tips to see if you can improve your current sound.
Read more
About the Author


Comments are closed.